Add captions
Transcribe the recording, then open the Words tab (⌘2). Turn on Captions and pick a look: Clean, Boxed, Word pop or Big. Style… has position, size, animation and colours.
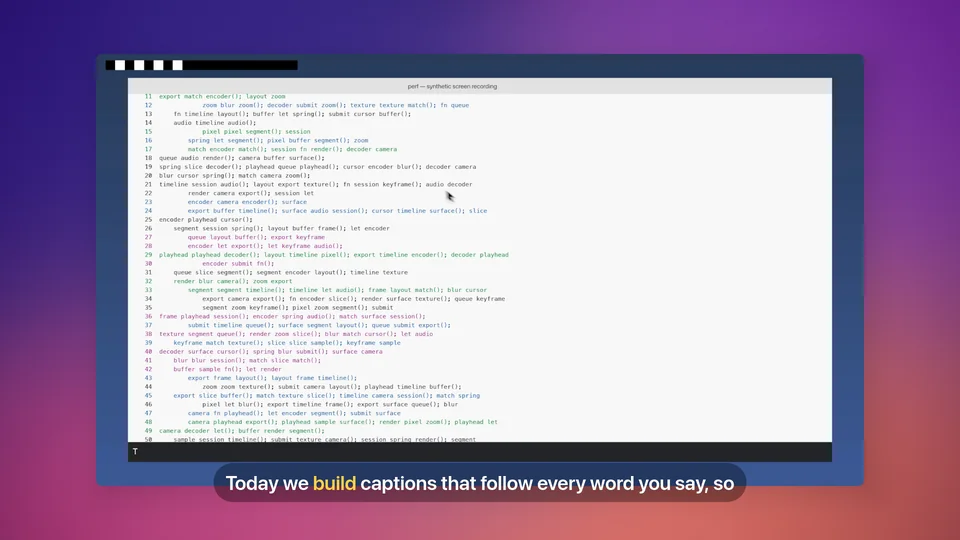
Turn captions on
- Transcribe the recording first. See Transcribe your recording. Captions turn on when it's done.
- Click Words in the tabs on the right, or press ⌘2.
- Use the switch next to Captions at the top to show or hide them.
- Pick a look:
| Look | What you get |
|---|---|
| Clean | White words, a phrase at a time. |
| Boxed | Words on a dark box. |
| Word pop | Word by word, the spoken word in Apricot. |
| Big | Large words, centred, one at a time. |
Drag the captions on the video to move them.
Most people watch social videos with the sound off, so captions are worth it.
Position and size
Click Style… next to the switch for the finer settings. Back to words returns to the transcript.
Under Place and size:
- Position: click a spot in the box, or drag the caption on the preview. Double-click to put it back at the bottom centre.
- Size: the text size.
- Width: how wide a line can get before it wraps.
- Margin: room kept from the edges of the frame.
Animation
Under Animation:
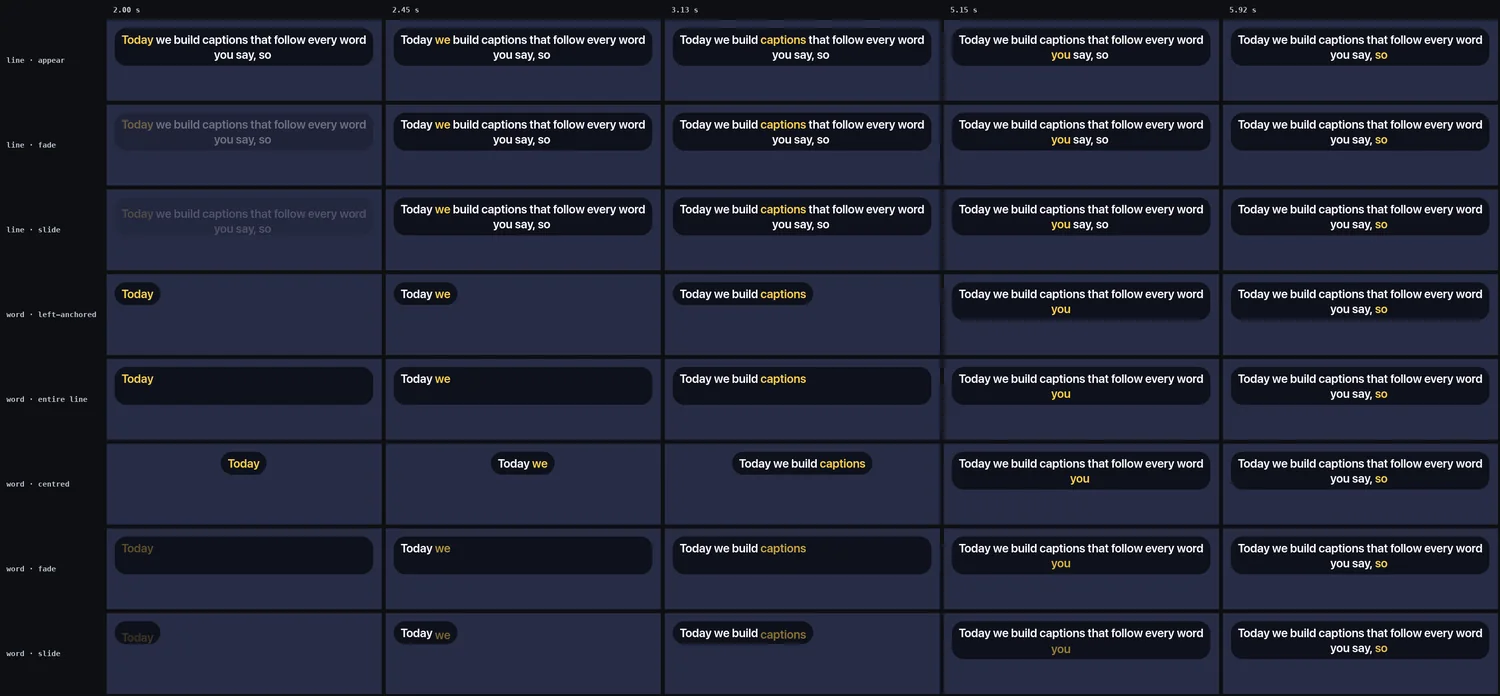
- Reveal: Line by line shows a phrase whole. Word by word adds each word as it's spoken.
- Entrance: how each phrase comes in: Appear, Fade or Slide.
Font and colours
Under Font and colours, choose a Font (Sans, Serif or Mono), the Text colour, the Highlight colour for the word being spoken, and the Background behind the text with its Opacity.
What's included
Under Include:
- Sound labels shows sounds the recogniser labelled, like [music] or (laughs), as captions.
- Narration lines captions your AI narration word by word as it's spoken.
To leave a word out of the captions but keep it in the video, select it in the transcript and press ⌘⌫.
Subtitles as a file
Choose Export captions as SRT… (in File or ⌘K) to save a subtitle file. Upload it to YouTube or LinkedIn for captions viewers can turn on and off.