Help / Start here
Install Cinemac
Download Cinemac from cinemac.app, drag it into Applications and open it. It lives in your menu bar.
Before you start
Cinemac needs macOS 15 or later.
Install
- On cinemac.app, click Download for Mac.
- Open the downloaded file. A window opens with Cinemac and your Applications folder.
Drag Cinemac onto Applications.
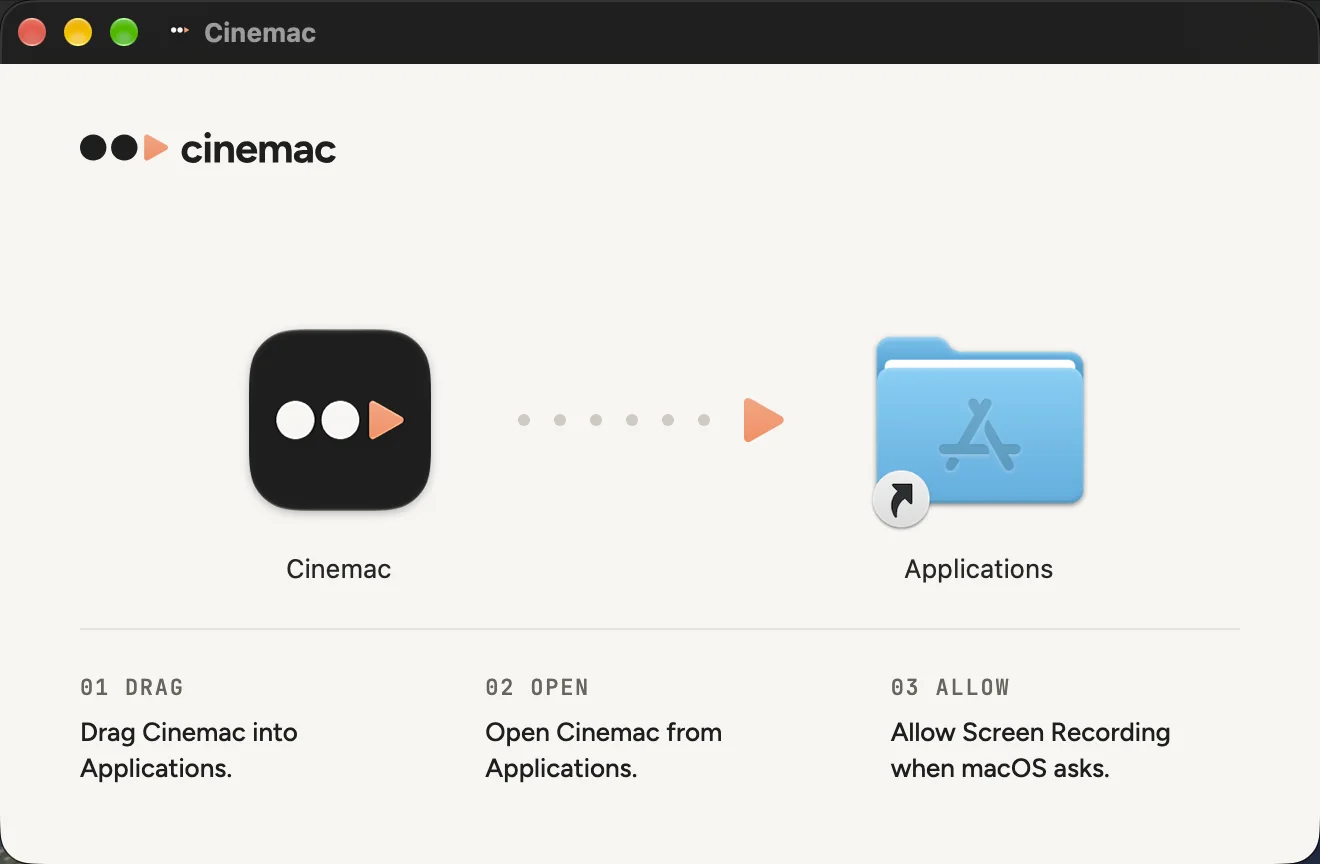
- Open Cinemac from Applications or Spotlight.
The first launch
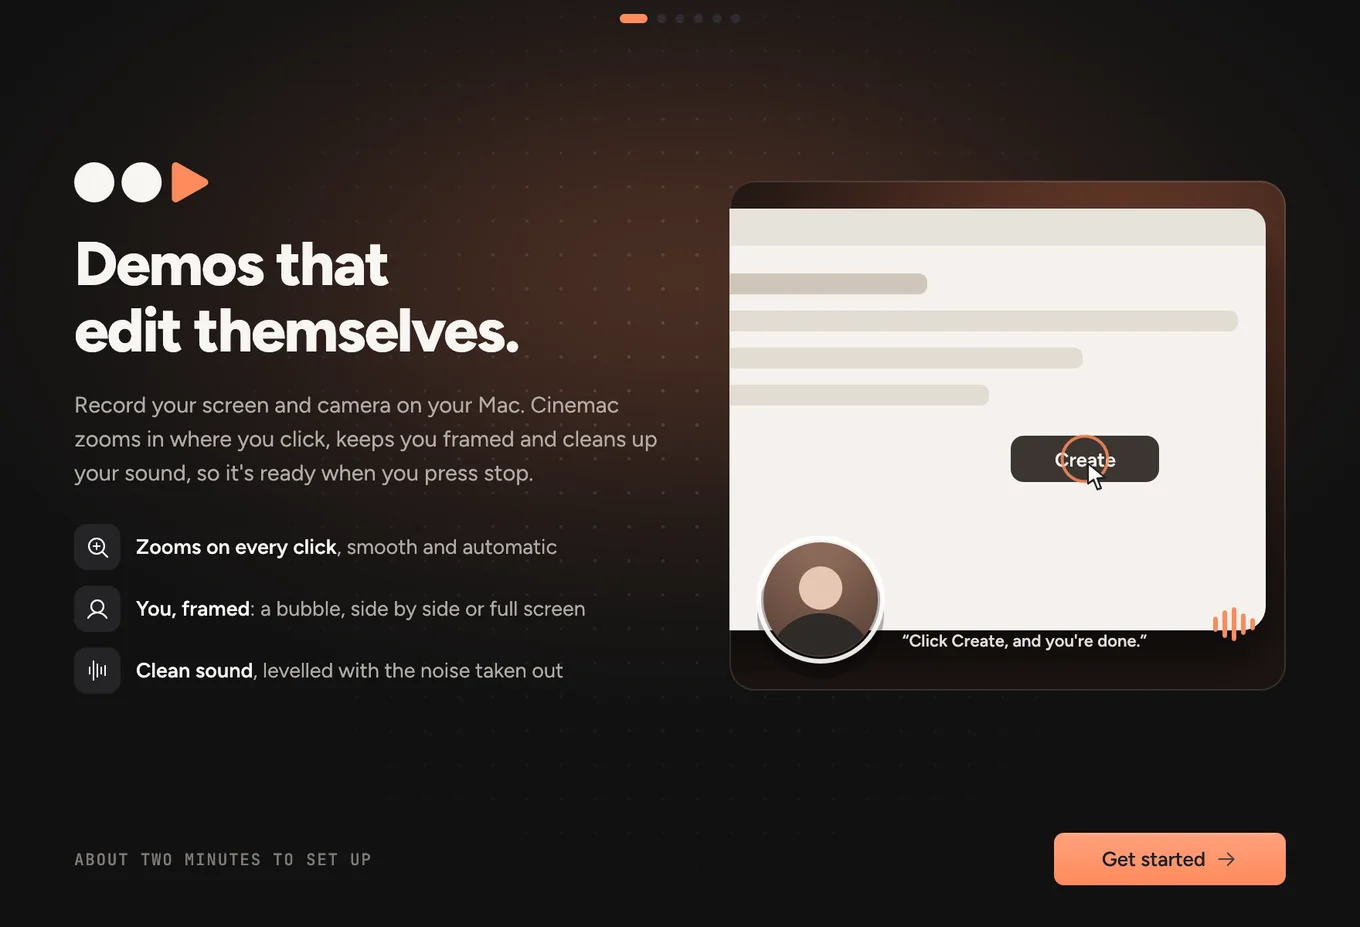
The first time you open Cinemac, a short welcome sets it up in about two minutes. Click Get started, then:
- Create your account with your email, or click Sign in if you have one. Cinemac emails you a code to paste in, so there's no password. See Account.
- Your recordings stay on your Mac. What happens on your Mac, what goes online and what never happens. Click Set up permissions.
- Permissions, one at a time. Only screen recording is required. See Allow Cinemac to record.
- One quick restart, so macOS switches screen recording on. Click Reopen Cinemac and you land back where you were.
- Check how you look and sound. Pick your camera and microphone, and choose whether to remove background noise and record your Mac's sound. Click Looks good.
- Press this in any app to record. The shortcut that starts and stops a recording from anywhere. Click Change shortcut to pick your own.
- You're all set. Click Record my first video, or Watch the tour first. The tour is also in Help › Watch the Tour.
Where Cinemac lives
Cinemac sits in your menu bar, at the top right of the screen. Click its icon to start a New Recording…, open your Projects… or change Settings…. While you record, the icon shows a dot and the time.

Good to know
Cinemac also shows in the Dock while a window like the editor is open.
Updated 30 October 2026Something unclear? Tell us