Camera and microphone
Under Sources in the recorder, pick a microphone, a camera and whether to record your Mac's sound. Each one shows a live level or preview, so you can check it before you start.
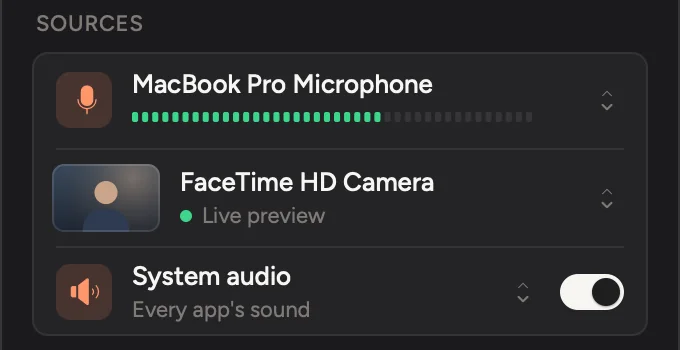
Microphone
- Click the microphone row and choose your microphone, or Default microphone to follow your Mac's setting.
- Speak. The green bar under the name moves with your voice.
Choose No microphone to record without your voice. The row then says Your voice won't be recorded.
Use the same microphone for the whole video. If you use AirPods, check the level bar moves before you start.
Camera
- Click the camera row and choose your camera. A small live preview shows in the row.
- Turn on Show camera while recording to see yourself in a floating bubble while you record. Drag it anywhere. Only you see it.
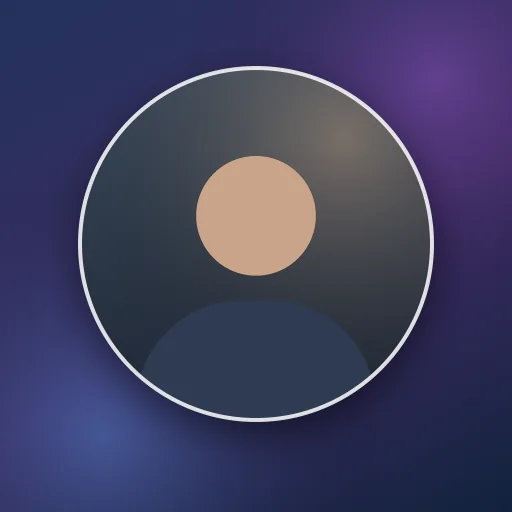
Your camera is recorded on its own, next to the screen. In the editor you choose how it looks: a circle in a corner, side by side with the screen, or full frame. You can change this any time after recording.
Choose No camera to record without it.
Your Mac's sound
Turn on System audio to record the sound your Mac plays, such as a video or an app's sounds.
- Every app records all of it.
- Choose Only Safari or other apps to record just those. Apps you choose join in when they start.
Turn on Do Not Disturb before you record, so notification sounds stay out of your video.