Export a video
Press ⌘E, check the settings and click Export. The defaults make a sharp MP4 that plays everywhere. Copy exports and puts the file on your clipboard in one step.
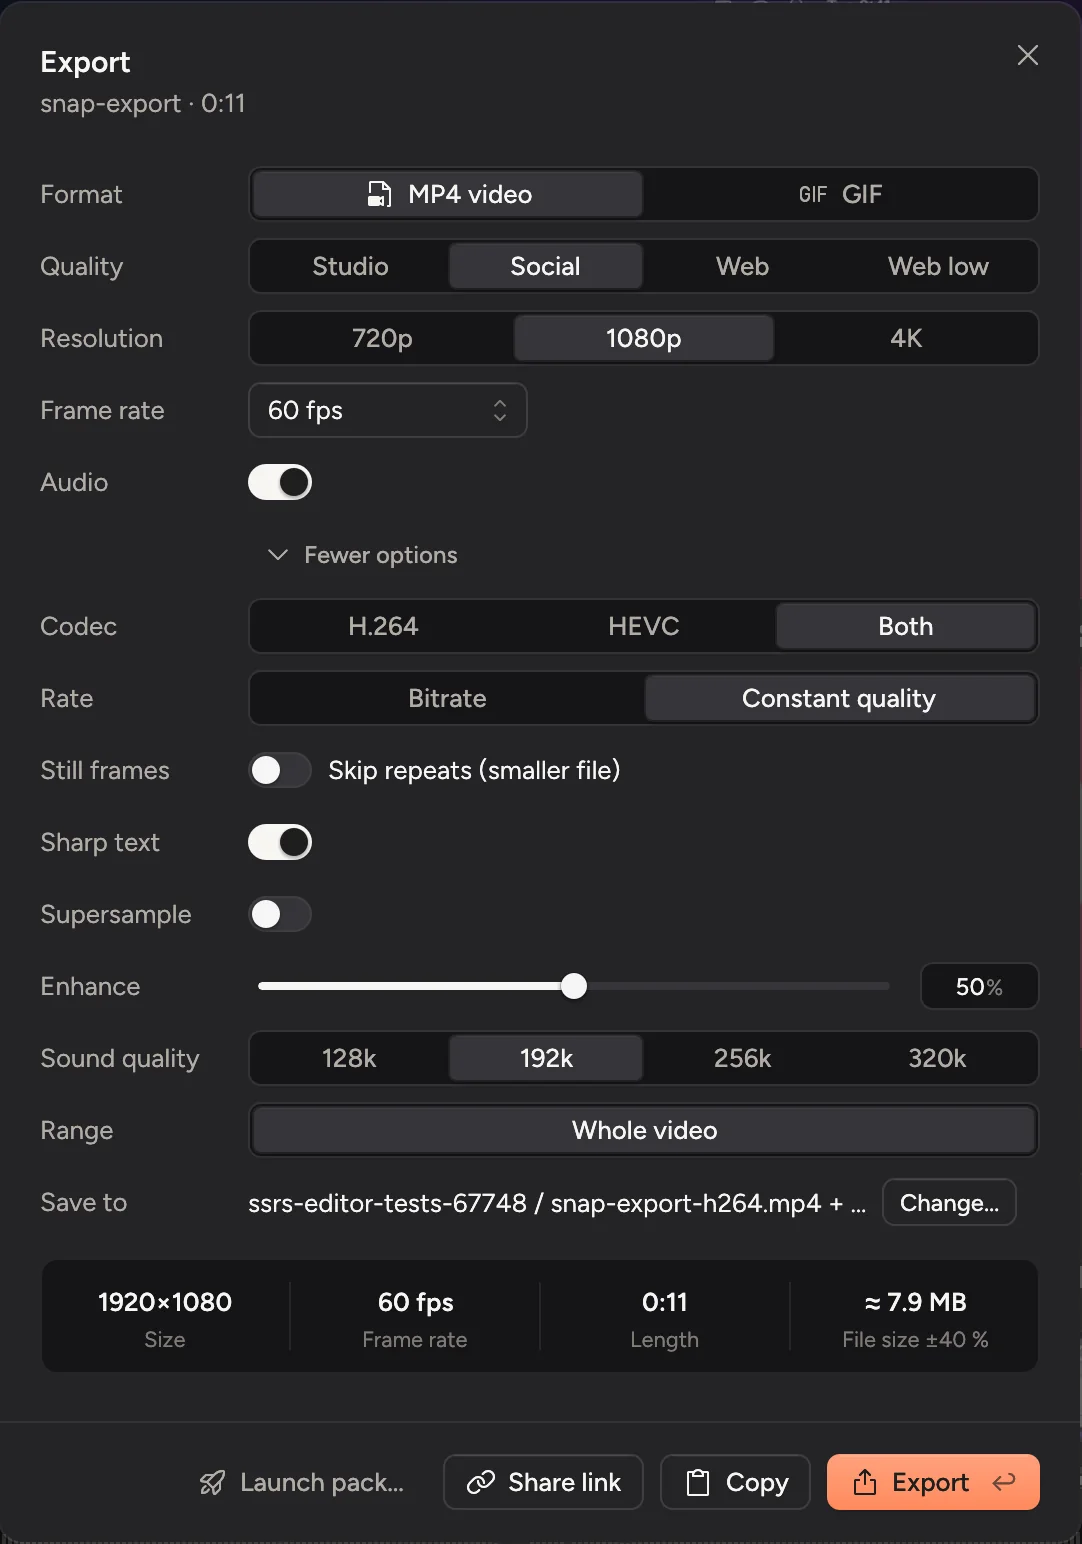
- 1Format
- 2Quality
- 3Resolution
- 4Size, length and an estimate of the file size
- 5Export
Export
- Click Export at the top right of the editor, or press ⌘E.
- Choose a Format: MP4 video for almost everything, or GIF for a short loop in a chat or a pull request.
- Pick a Quality and Resolution. The box at the bottom shows the file size you can expect.
- Click Export, or press ↩.
A progress bar shows the time left. Click Cancel export to stop. Nothing is left behind, and an earlier file with the same name is kept.
When it's done, click Reveal in Finder to find the file, or Copy to put it on the clipboard.
Which settings?
| Setting | Choose |
|---|---|
| Quality | Studio to keep or edit further, Social for posting, Web to put on a site, Web low for the smallest file. |
| Resolution | 1080p suits most uses. 4K for big screens. 720p for small files. |
| Frame rate | 60 fps for smooth motion. 30 fps makes smaller files. |
| Audio | Turn off to export without sound. |
More options
Click More options for:
- Codec: H.264 plays everywhere. HEVC is about a third smaller at the same quality. Both writes one file of each from a single export.
- Rate: Bitrate gives predictable sizes. Constant quality keeps the look whatever the size: still screens come out small, lots of motion comes out larger.
- Still frames: Skip repeats (smaller file) leaves out frames that are the same as the one before. Some video editors prefer this off.
- Sharp text keeps text crisp where the recording is drawn smaller than it was captured.
- Supersample renders at twice the size and filters down, for the smoothest edges. It takes about four times as long.
- Enhance smooths banding and sharpens detail where the recording is drawn larger than it was captured, such as when zoomed in.
- Sound quality sets the audio bitrate.
These are saved with the project, so every export uses them.
For a GIF, More options has Optimize and Lossy, which make the file much smaller without a visible change.
Export part of the video
Press I and O on the timeline to mark a start and an end. Range in the Export window then offers that stretch next to Whole video.
Copy and paste in one step
Click Copy in the Export window to export and put the file on the clipboard. Then paste it into Slack, Mail, Messages or a document.
To send a link instead of a file, click Share link. See Share a link.
For the fastest route, press ⇧⌘E for Quick export. It exports with its own saved settings, without opening the window. Change them with Quick export settings… in the Commands list (⌘K).
A single picture
Press ⇧⌘S to export the frame under the playhead as a PNG.
Where files go
Exports go next to your project, in your recordings folder. That's Movies › Cinemac unless you changed Recordings folder in Settings › Storage. To save somewhere else, click Change… next to Save to.
The Export window also has Launch pack…, which makes every version a product launch needs in one go (Make a launch pack), and Interactive demo under Format, which turns your video into a click-through page (Make an interactive demo).